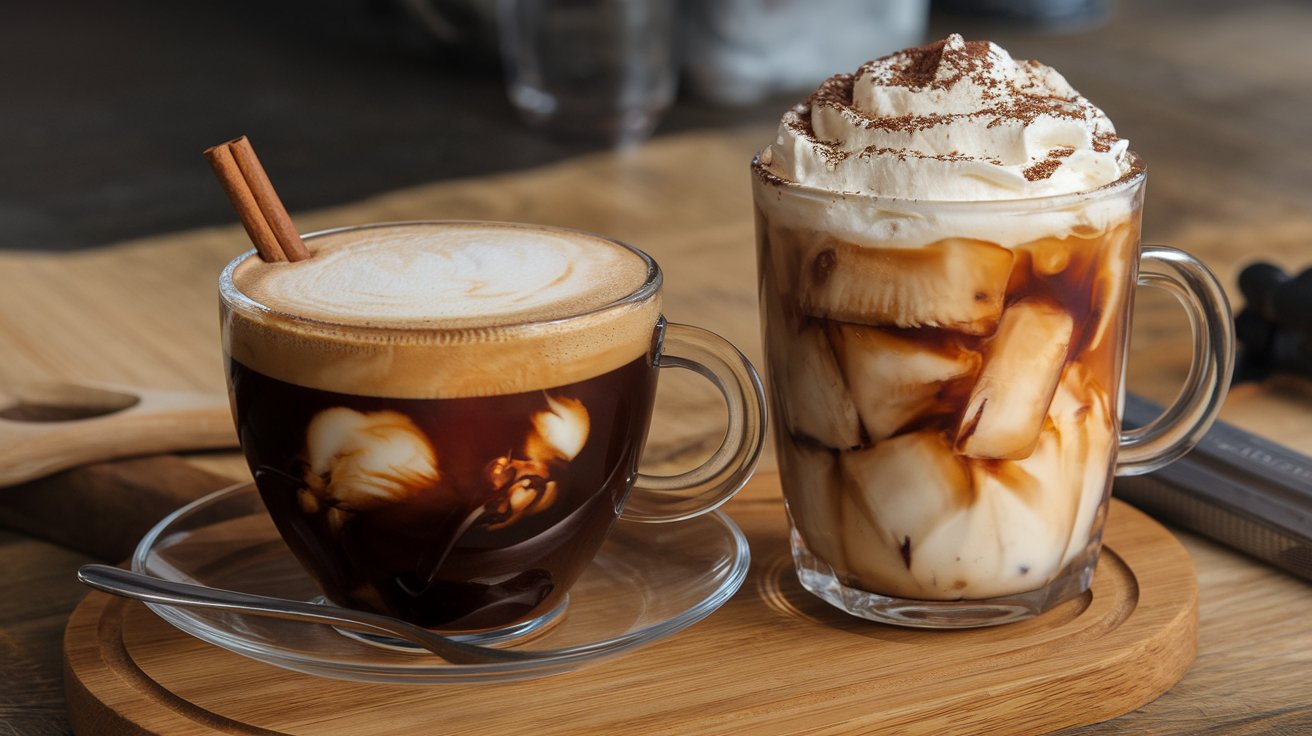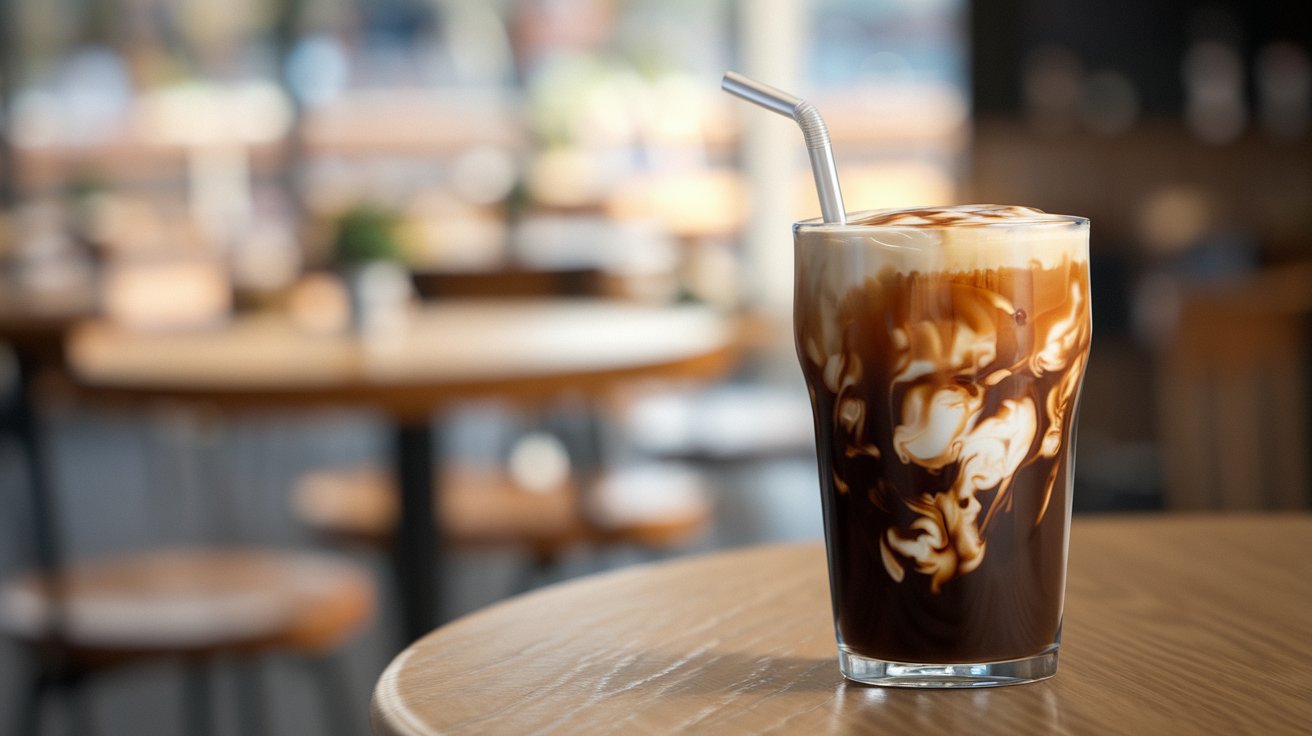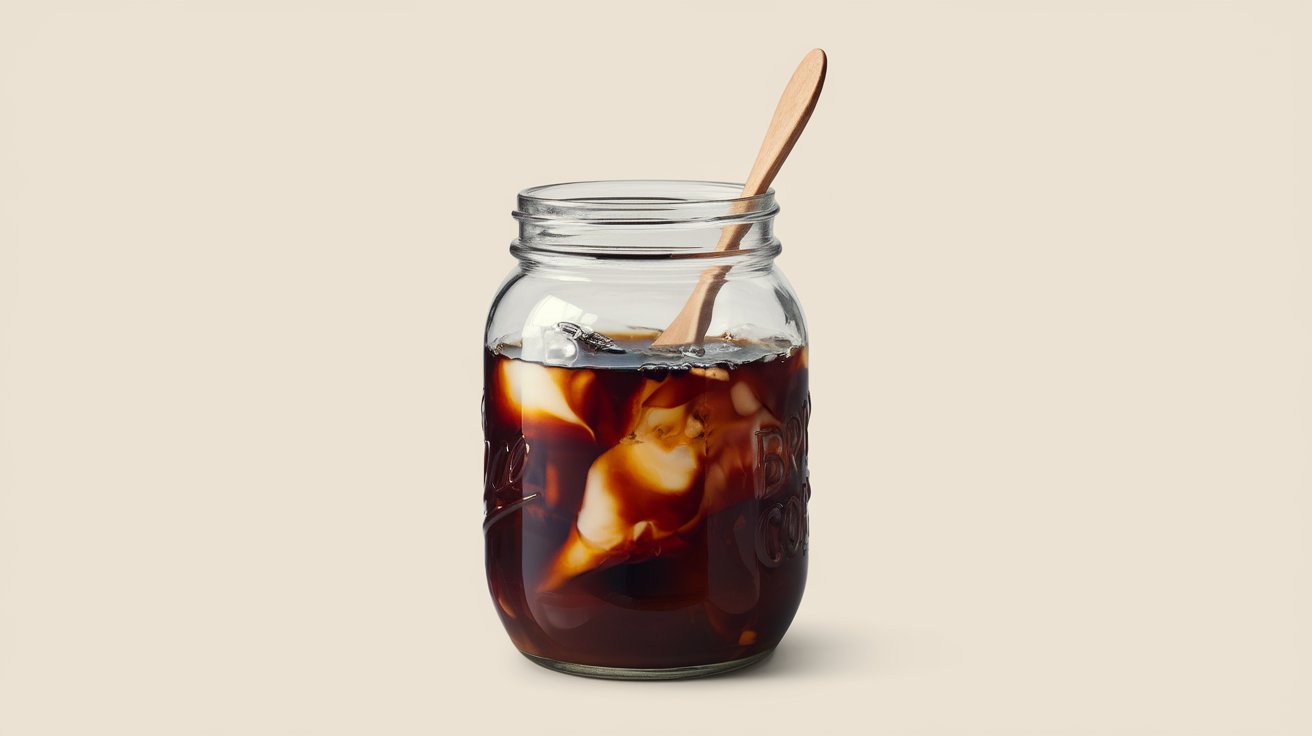
Making cold brew at home transforms regular coffee into a smooth, less acidic beverage that’s perfect for hot days or sensitive stomachs. Unlike traditional hot coffee, cold brew uses room temperature or cold water to extract flavors over 12-24 hours, creating a naturally sweet concentrate. This comprehensive guide covers everything from basic techniques to advanced methods, whether you have specialized equipment or just household items, helping you craft café-quality cold brew that costs pennies per serving.
What Makes Cold Brew Different from Regular Coffee
Cold brew coffee differs fundamentally from regular coffee through its extraction method and chemical composition. Traditional coffee uses hot water (195-205°F) that quickly extracts oils, acids, and bitter compounds within minutes. Cold brew uses room temperature or cold water over 12-24 hours, extracting primarily sweet and smooth flavor compounds while leaving behind many acidic elements. According to 2026 research from the National Coffee Association, cold brew contains up to 67% less acidity than hot-brewed coffee, making it ideal for people with gastritis or acid reflux.
The slow extraction process creates a coffee concentrate with higher caffeine content per ounce—typically 200-300mg per 8-ounce serving compared to 95mg in regular coffee. However, cold brew is usually diluted before drinking, bringing caffeine levels to comparable or slightly higher amounts. The flavor profile emphasizes chocolate, caramel, and nutty notes while minimizing bitterness. In 2026, approximately 42% of American coffee drinkers regularly consume cold brew, with market growth exceeding 18% annually in the United States.
Essential Equipment and Ingredients
Creating excellent cold brew at home requires minimal equipment, though specialized tools can streamline the process. At its simplest, you need a container, coffee grounds, water, and a filtering method. The coffee-to-water ratio remains the most critical factor for consistent results, regardless of equipment sophistication.
Choosing the Right Coffee and Grind Size
The best cold brew starts with quality coffee beans ground to the proper consistency. Medium to dark roasts work exceptionally well for cold brew, offering chocolatey and caramel notes that complement the extraction method. Light roasts can produce excellent results but may taste more tea-like or delicate. For ground coffee, use a coarse grind similar to raw sugar crystals—fine grounds over-extract and create muddy, bitter flavors while causing filtering difficulties. Many Americans purchase pre-ground coffee, which works if labeled specifically for cold brew or French press.
Using regular coffee is absolutely acceptable for cold brew—no specialized beans are required. However, avoid espresso grinds or fine ground coffee unless you reduce steeping time to 8-12 hours maximum. Single-origin beans from Ethiopia, Colombia, or Guatemala provide distinct flavor profiles, while Brazilian and Sumatran beans offer heavier body. Store coffee in an airtight container away from light and heat, using beans within 3-4 weeks of roasting for optimal freshness. The ratio of coffee to water typically ranges from 1:4 for concentrate to 1:8 for ready-to-drink strength.
Equipment Options from Basic to Advanced
For making cold brew without equipment, a large jar or pitcher, cheesecloth, and fine-mesh strainer suffice perfectly. A half-gallon Mason jar accommodates 2-4 cups of ground coffee and appropriate water, serving most households for 3-5 days. Mid-range options include dedicated cold brew makers with built-in filters, ranging from $25-80 in 2026 markets across the United States. Popular models like the Toddy Cold Brew System, OXO Cold Brew Coffee Maker, and Takeya Deluxe Cold Brew Maker feature easy filtration and serving spouts.
Premium options include automated cold brew systems ($150-400) that control steeping time and temperature, though manual methods produce equally delicious results. Essential accessories include a digital kitchen scale for measuring coffee (most accurate method), filtered water for better taste, and storage containers. You can make cold brew in any food-safe container—glass preferred for flavor neutrality—that holds your desired volume plus 20% headspace. Avoid reactive materials like unlined aluminum or low-quality plastics that may affect taste over extended steeping periods.
Basic Cold Brew Method: Step-by-Step Instructions
This fundamental technique works universally, whether brewing in a jar, pitcher, or specialized maker. The process remains forgiving—minor variations in timing or ratios still produce excellent coffee.
Measuring Coffee and Water Ratios
The standard cold brew ratio for concentrate is 1:4 (coffee to water by weight), meaning 1 cup (85g) of coarse ground coffee to 4 cups (960ml) of water. For ready-to-drink strength, use 1:7 or 1:8 ratio—1 cup coffee to 7-8 cups water. In 2026, most American households prefer making concentrate for flexibility in serving options. Weight measurements provide superior consistency: 100 grams of coffee with 400 grams of water creates a robust concentrate serving 4-6 people when diluted.
If measuring by volume only, use 1 cup of ground coffee to 4 cups of cold or room temperature filtered water. The water temperature doesn’t significantly impact extraction as long as it’s below 70°F—some prefer room temperature water for slightly faster extraction. Adjust ratios based on personal preference: stronger palates may prefer 1:3, while those sensitive to caffeine might choose 1:6. Keep notes on your preferred ratio for reproducible results.
Steeping Process and Timeline
Combine coffee grounds and water in your chosen container, stirring gently to ensure all grounds are saturated—dry pockets won’t extract properly. Cover the container and place in the refrigerator or leave at room temperature. Refrigerator steeping (12-18 hours) produces cleaner, brighter flavors with less bitterness. Room temperature steeping (8-12 hours) extracts more quickly and emphasizes fuller body but requires shorter timing to avoid over-extraction.
The optimal brew time is 14-16 hours for most American preferences, balancing strength and smoothness. Steeping longer than 24 hours risks bitter, astringent flavors. Set a timer or schedule your brew—starting before bed produces ready-to-filter coffee by morning. Avoid stirring during steeping, which can create unwanted bitterness. The grounds will settle naturally, creating a concentrated layer at the bottom. For consistent results, maintain the same steeping location and temperature each batch, as variations of 10-15°F can alter extraction rates by 20-30%.
Filtering and Storage Best Practices
After steeping completes, filter the cold brew to remove all grounds and sediment. For basic setups, line a fine-mesh strainer with cheesecloth, coffee filter, or thin kitchen towel over a bowl or pitcher. Pour slowly, allowing gravity to work—avoid pressing grounds, which releases bitter compounds. The process takes 10-20 minutes for thorough filtration. Cold brew makers with built-in filters simplify this step with removable baskets or built-in mesh systems.
Store finished cold brew concentrate in an airtight container in the refrigerator for up to 14 days, though flavor peaks within the first 7 days. Glass containers preserve taste better than plastic. Label containers with brewing date for freshness tracking. The concentrate will separate slightly during storage—shake gently before serving. To serve, dilute concentrate 1:1 or 1:2 with water, milk, or milk alternatives. Add ice, sweeteners, or flavorings as desired. Undiluted concentrate works excellently in cocktails, smoothies, or baking recipes. In 2026, Americans consume an average of 2.3 servings of cold brew weekly during warmer months.
How to Make Cold Brew with Different Coffee Types
While coarse-ground regular coffee works best, various coffee types and formats can produce cold brew with technique adjustments. Understanding these variations expands your options when specialty items aren’t available.
Using Instant Coffee or Nescafe
Making cold brew with instant coffee contradicts traditional methods but offers convenience for quick preparations. Technically, this creates cold coffee rather than true cold brew, as instant coffee is pre-extracted. To prepare, dissolve 2-3 tablespoons of instant coffee (adjust to taste) in 1 cup of cold water, stirring vigorously until completely dissolved. Add ice and additional cold water to reach desired strength, typically 2-3 additional cups.
For cold brew with Nescafe specifically, use their instant espresso varieties for more robust flavor. The result lacks the smooth, naturally sweet characteristics of properly steeped cold brew but provides caffeine and coffee flavor in under 2 minutes. This method works for camping, travel, or emergency situations when traditional brewing isn’t feasible. Expect higher acidity than genuine cold brew—this quick method won’t benefit those with gastritis or acid sensitivity. Consider using filtered or bottled water for better taste, as instant coffee’s subtle flavors are easily overwhelmed by chlorinated tap water.
Adapting Fine Grounds or Espresso Roasts
Using fine ground coffee requires modified technique to prevent over-extraction and filtering difficulties. Reduce steeping time to 8-10 hours maximum when using fine grinds, and expect more intense, potentially bitter flavors. The smaller particle size extracts more quickly, releasing compounds that create astringency if left too long. Filtration becomes challenging—use multiple layers of cheesecloth or paper filters, accepting longer filtering times of 30-45 minutes.
Making cold brew with espresso grounds or roasts produces intensely flavored concentrate with pronounced chocolate and caramel notes. Use slightly reduced coffee amounts—try a 1:5 or 1:6 ratio instead of 1:4 to account for increased extraction. Espresso roasts’ natural oils contribute to fuller body. Some Americans prefer this method for extra-strong concentrate used in coffee cocktails or as creamer replacements. Monitor steeping carefully, as dark roasts can become overly bitter beyond 14 hours. The result will have a different flavor profile than traditional cold brew but remains delicious when properly executed.
Health Benefits and Considerations for Sensitive Stomachs
Cold brew offers distinct health advantages compared to traditional coffee, particularly for those with digestive sensitivities. The extended cold extraction process fundamentally changes the beverage’s chemical composition in beneficial ways.
Why Cold Brew is Good for Gastritis and Acid Reflux
Cold brew is good for gastritis sufferers because it contains significantly fewer acidic compounds than hot-brewed coffee. The cold water extraction doesn’t pull out many of the chlorogenic acids and quinic acids that irritate stomach linings and trigger reflux. According to 2026 gastroenterology research, cold brew has a pH of approximately 6.3-6.5 compared to hot coffee’s 4.8-5.1, making it substantially less acidic. This reduced acidity means fewer digestive symptoms for the estimated 44% of Americans who experience coffee-related stomach discomfort.
For those with acid reflux or gastritis, cold brew allows continued coffee enjoyment with minimal irritation. The smooth, naturally sweet flavor requires less sugar or cream, further reducing potential digestive triggers. However, caffeine itself can relax the lower esophageal sphincter, potentially worsening reflux in some individuals regardless of acidity. Consider diluting cold brew more than usual or limiting consumption to morning hours. Those with severe gastritis should consult healthcare providers before consuming any coffee products, as individual responses vary significantly.
Making Coffee Anti-Inflammatory with Add-Ins
To make coffee anti-inflammatory, incorporate ingredients that counter caffeine’s potential inflammatory effects while adding beneficial compounds. Add 1/4 teaspoon of cinnamon per serving—this spice contains cinnamaldehyde, which reduces inflammatory markers according to 2026 nutritional studies. Turmeric (1/8 teaspoon with black pepper for absorption) provides curcumin, a powerful anti-inflammatory compound that complements coffee’s antioxidants.
Other anti-inflammatory additions include ginger powder, cardamom, or cocoa powder, each contributing unique bioactive compounds. Replace dairy milk with anti-inflammatory alternatives like almond milk, oat milk, or coconut milk, which don’t trigger inflammatory responses in lactose-sensitive individuals. Add a teaspoon of MCT oil or grass-fed butter for sustained energy without inflammation. Avoid excessive sugar, which promotes inflammatory pathways—use monk fruit, stevia, or small amounts of raw honey instead. Cold brew’s naturally lower acidity already reduces inflammatory potential compared to hot coffee, making it an ideal base for anti-inflammatory beverages. These modifications create a functional beverage that supports rather than challenges inflammatory balance.
Advanced Techniques and Flavor Variations
Once you’ve mastered basic cold brew, advanced techniques elevate your coffee experience with complex flavors and creative preparations. These methods range from simple additions to sophisticated brewing variations popular in 2026 American coffee culture.
Creating Flavored Cold Brew Concentrates
Infuse cold brew with natural flavors during the steeping process by adding complementary ingredients to the grounds. Vanilla bean (1 whole bean, split) creates classic vanilla cold brew, while 2-3 cinnamon sticks add warming spice notes. Add 1/4 cup of cocoa nibs for mocha-style concentrate, or orange peel strips for bright citrus undertones. These additions steep alongside coffee grounds without requiring additional steps.
For seasonal variations, add 2-3 cardamom pods for Middle Eastern-inspired flavor, or 1 tablespoon of dried lavender for floral notes. Experiment with 1/4 cup of toasted hazelnuts or almonds for nutty complexity. All additions should be food-safe and minimally processed—avoid oils or extracts during steeping, which can create off-flavors. Add liquid flavorings like vanilla extract or maple syrup after filtering when diluting for serving. Popular 2026 trends include cold brew infused with adaptogenic mushrooms (reishi, lion’s mane) for functional benefits, and CBD-infused versions where legal. Document successful flavor combinations with specific measurements for reproducibility.
Japanese-Style Ice Drip Cold Brew
Japanese ice drip brewing creates cold brew in 3-4 hours rather than overnight, using specialized equipment that slowly drips ice-cold water through coffee grounds. This method produces exceptionally clean, delicate coffee with bright, tea-like qualities. The equipment (kyoto-style drippers) costs $150-500 but creates remarkable results for enthusiasts. Ice water drips at approximately 1 drop per second through a filter bed of medium-fine grounds, collecting in a carafe below.
The slow drip rate controls extraction precisely, highlighting coffee’s subtlest flavors. Use slightly finer grounds than traditional cold brew—closer to pour-over consistency—and a 1:10 to 1:12 coffee-to-water ratio. This method gained popularity among American specialty coffee shops in 2024-2026, with home equipment becoming more accessible. The process is more involved but produces superior clarity and complexity, ideal for showcasing single-origin beans. Adjust drip rate by tightening or loosening the flow control valve—slower produces stronger coffee. The resulting beverage needs minimal dilution and tastes best served over ice within 24 hours of brewing.
Troubleshooting Common Cold Brew Problems
Even experienced brewers encounter occasional issues with cold brew preparation. Understanding common problems and their solutions ensures consistent, delicious results every batch.
Fixing Weak, Bitter, or Cloudy Cold Brew
Weak cold brew results from insufficient coffee, inadequate steeping time, or water that’s too cold (below 40°F slows extraction significantly). Increase your coffee-to-water ratio by 25% or extend steeping to 18-20 hours. Ensure all grounds are saturated when starting—dry pockets won’t extract. Weak flavor can also indicate stale coffee—beans lose volatile compounds within 6-8 weeks of roasting, even when properly stored.
Bitter cold brew indicates over-extraction from excessively long steeping (beyond 24 hours), water that’s too warm (above 75°F), or too-fine grounds. Reduce steeping time to 12-14 hours and verify grind size matches coarse consistency. Some coffee origins naturally taste more bitter—try different beans. Cloudy cold brew comes from inadequate filtering or disturbing sediment. Use finer filtration (paper filters or multiple cheesecloth layers) and pour gently when decanting. Allowing concentrate to settle for 1-2 hours before carefully pouring off clear liquid improves clarity. Some cloudiness from natural coffee oils is normal and doesn’t affect taste—only excessive sediment creates problems.
Addressing Mold Growth and Storage Issues
Mold growth occurs when cold brew isn’t properly stored or when contaminated equipment introduces spores. Always use clean, sanitized containers and filtered water. Store finished cold brew in airtight containers at 35-40°F (standard refrigerator temperature) for maximum shelf life. If you notice any mold, fuzzy growth, or off-odors, discard immediately—don’t attempt to salvage moldy cold brew.
Prevent storage issues by thoroughly cleaning all brewing equipment with hot, soapy water between uses, rinsing completely. Glass containers resist bacterial growth better than plastic. Never store cold brew with grounds still present—always filter completely. Cold brew that tastes stale, flat, or develops vinegar-like notes has passed optimal freshness, typically after 14 days. For extended storage beyond 2 weeks, freeze cold brew concentrate in ice cube trays or freezer-safe containers for up to 3 months. Thaw in refrigerator before use. Label all containers with brewing dates, and practice first-in-first-out rotation if making multiple batches. Contamination risks increase dramatically in warm climates—never leave cold brew at room temperature beyond initial steeping period.
Cost Savings and Environmental Benefits of Homemade Cold Brew
Making cold brew at home delivers substantial financial savings while reducing environmental impact compared to purchasing pre-made beverages. The economics strongly favor home brewing for regular cold brew consumers.
A typical café cold brew costs $4-7 per 16-ounce serving in 2026 United States markets. Making equivalent cold brew at home costs approximately $0.40-0.80 per serving, depending on coffee quality. A pound of quality coffee ($12-18) makes 8-12 servings of cold brew concentrate, which dilutes into 16-24 final servings. Annual savings for someone drinking cold brew 3-4 times weekly exceed $600-800. Even purchasing premium specialty beans results in 75-85% cost reduction compared to café purchases.
Environmental benefits include eliminating single-use plastic cups and lids—Americans discard approximately 500 million coffee cups weekly. Home brewing reduces transportation emissions and packaging waste from individual bottled cold brews. Reusable containers and washable filters create minimal waste. Coffee grounds from cold brew make excellent compost, providing nitrogen for gardens, or can be used as natural cleaning abrasives. The slow extraction process uses no electricity (unlike electric coffee makers), further reducing environmental footprint. Over a year, making cold brew at home prevents approximately 150-200 disposable cups from landfills per regular consumer while saving money and maintaining quality control over ingredients and strength preferences.
Related video about how to make cold brew at home
This video complements the article information with a practical visual demonstration.
Important things to know about how to make cold brew at home
Can you make cold brew from regular coffee?
Yes, you can absolutely make cold brew from regular coffee. Any coffee works for cold brew, though medium to coarse ground coffee produces the best results. Use standard coffee beans or pre-ground coffee, avoiding only extremely fine grinds like espresso. Regular coffee from grocery stores, local roasters, or specialty shops all work perfectly. The key is using coarse grounds and the proper coffee-to-water ratio (1:4 for concentrate or 1:7 for ready-to-drink strength) with 12-18 hours of steeping time. No special cold brew coffee is required—regular coffee creates the same smooth, less acidic result that makes cold brew popular.
What is the best ratio of coffee to water for cold brew?
The best cold brew ratio depends on whether you’re making concentrate or ready-to-drink coffee. For concentrate, use 1:4 ratio (1 cup ground coffee to 4 cups water), which you’ll dilute before drinking. For ready-to-drink cold brew, use 1:7 or 1:8 ratio (1 cup coffee to 7-8 cups water). By weight, concentrate uses 100 grams coffee to 400 grams water. Most American households prefer making concentrate for flexibility. You can adjust based on preference—stronger palates may prefer 1:3, while those sensitive to caffeine might choose 1:6. Consistency matters more than exact ratio, so measure accurately and keep notes on your preferred strength.
How long does homemade cold brew last in the refrigerator?
Homemade cold brew lasts up to 14 days in the refrigerator when stored properly in an airtight container, though flavor peaks within the first 7 days. Store filtered cold brew concentrate at 35-40°F in glass containers for best results. Always ensure complete filtration—no grounds remain in storage container. The concentrate may separate slightly during storage; shake gently before using. Signs of spoilage include mold growth, off-odors, or vinegar-like taste. For extended storage, freeze cold brew concentrate in ice cube trays or freezer-safe containers for up to 3 months. Label containers with brewing dates and practice first-in-first-out rotation if making multiple batches. Proper storage prevents bacterial growth and maintains quality.
Is cold brew better for people with gastritis or acid reflux?
Yes, cold brew is significantly better for people with gastritis or acid reflux because it contains 67% less acidity than hot-brewed coffee. The cold water extraction process doesn’t pull out many irritating chlorogenic acids and quinic acids that hot water extracts. Cold brew has a pH of approximately 6.3-6.5 compared to hot coffee’s 4.8-5.1, making it substantially gentler on sensitive stomachs. The smooth, naturally sweet flavor requires less sugar or cream, further reducing digestive triggers. However, caffeine itself can still relax the lower esophageal sphincter, potentially affecting reflux in some individuals. Those with severe gastritis should consult healthcare providers, as individual responses vary. Many Americans with coffee sensitivity find cold brew allows continued enjoyment without digestive discomfort.
Can you make cold brew without any special equipment?
Yes, you can easily make cold brew without any special equipment using items already in your kitchen. All you need is a large jar or pitcher (Mason jars work perfectly), coarse ground coffee, cold water, and a filtering method like cheesecloth or a fine-mesh strainer with coffee filters. Combine coffee and water in your container using a 1:4 ratio, stir to saturate all grounds, cover, and refrigerate for 12-18 hours. Filter slowly through cheesecloth-lined strainer into another container. This basic method produces excellent cold brew identical to expensive cold brew makers. The process is forgiving and requires no electricity or specialized tools. Many experienced cold brewers prefer this simple approach for its flexibility and ease of cleaning.
How do you make coffee anti-inflammatory when making cold brew?
Make cold brew anti-inflammatory by adding beneficial ingredients that counter inflammation while enhancing health benefits. Add 1/4 teaspoon cinnamon per serving for cinnamaldehyde, which reduces inflammatory markers. Include 1/8 teaspoon turmeric with black pepper for curcumin absorption. Other anti-inflammatory additions include ginger powder, cardamom, or cocoa powder. Replace dairy with anti-inflammatory milk alternatives like almond, oat, or coconut milk. Add MCT oil or grass-fed butter for sustained energy. Avoid excessive sugar—use monk fruit, stevia, or small amounts of raw honey instead. Cold brew’s naturally lower acidity already reduces inflammatory potential compared to hot coffee, making it an ideal base. These modifications create a functional beverage supporting inflammatory balance rather than challenging it.
| Brewing Method | Best Coffee-to-Water Ratio | Steeping Time | Key Benefit |
|---|---|---|---|
| Standard Concentrate | 1:4 (coffee to water) | 14-16 hours refrigerated | Most versatile, dilute to preference |
| Ready-to-Drink | 1:7 or 1:8 | 12-18 hours | No dilution needed, convenient |
| Room Temperature Steep | 1:4 or 1:5 | 8-12 hours | Faster brewing, fuller body |
| Fine Ground Method | 1:5 or 1:6 | 8-10 hours maximum | Works with available grounds |
| Japanese Ice Drip | 1:10 to 1:12 | 3-4 hours | Exceptional clarity and complexity |